
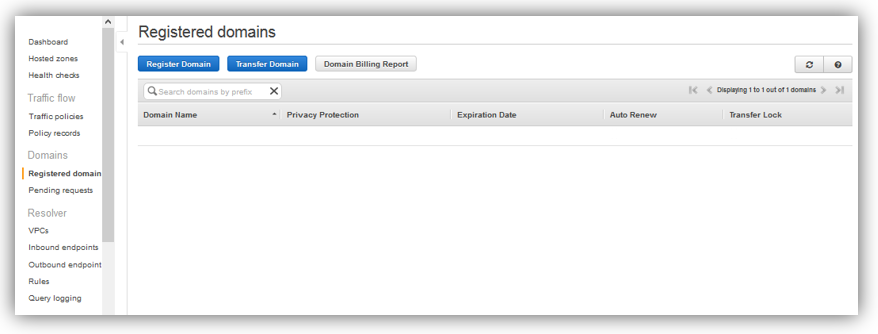
1. Registering a domain name:
To register a domain name on AWS, open Route 53 dashboard, then click on “Registered Domain”, after that click on “Register Domain”
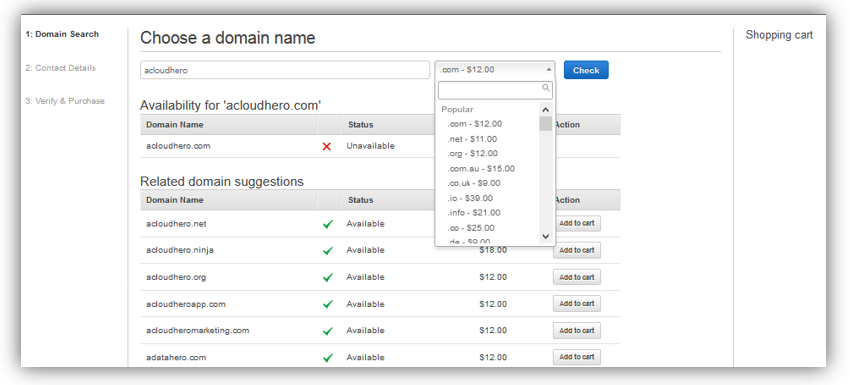
2. Choosing a domain name:
Choose a domain name, then check its availability based on domain extension or TLD (top level domain) that you want, you will find a big list to choose from: .com, .net, .org, .cloud, .blog … each extension or TLD has its own pricing.
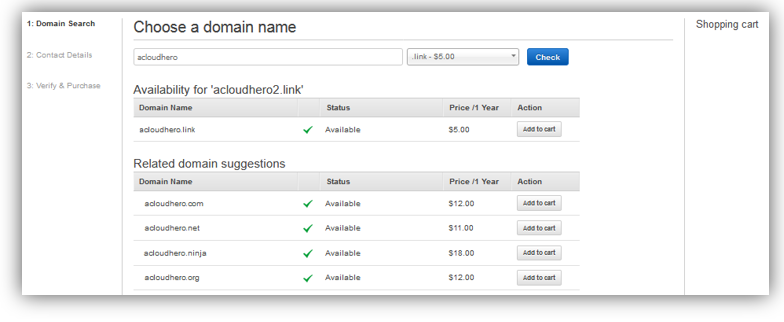
For my labs, I have chosen the cheapest extension offered by AWS which is “.link” :), it costs me only 5 usd.
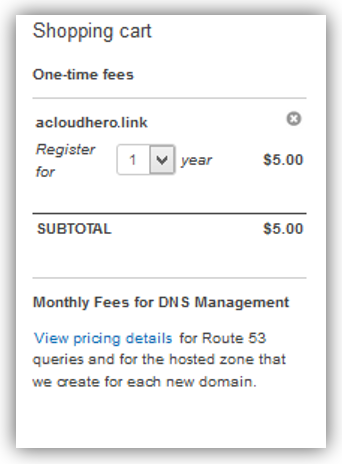
Click “Add to cart” in front of your chosen and available domain name.
Your cart is added, then at the bottom of the page click “Continue”:
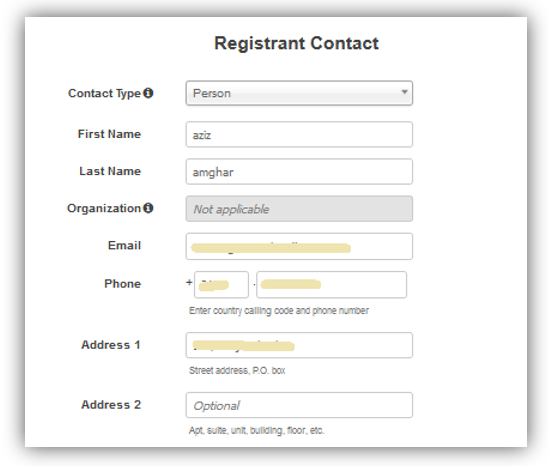
3. Providing information of Registrant Contact:
Enter the details of your Registrant for Administrative and Technical contacts, then click on “Continue”..
4. Completing the order and checking the domain name:
In the final stage, you can complete the order with email verification process, and you will see the correponding hosted zone created along.
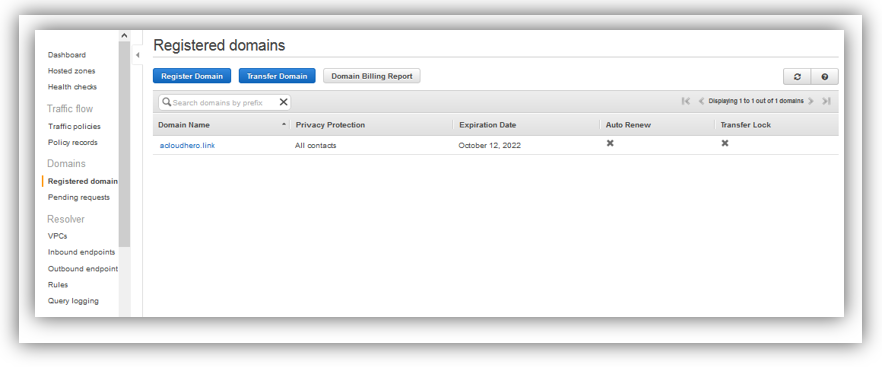
Now, on left menu, click on “Registered domain”, your domain name is added and will have to be renewed in 12 months if necessary:
From a linux machine, we will check if we registered successfully our domain name, for this, just type::
dig www.yourdomain.com
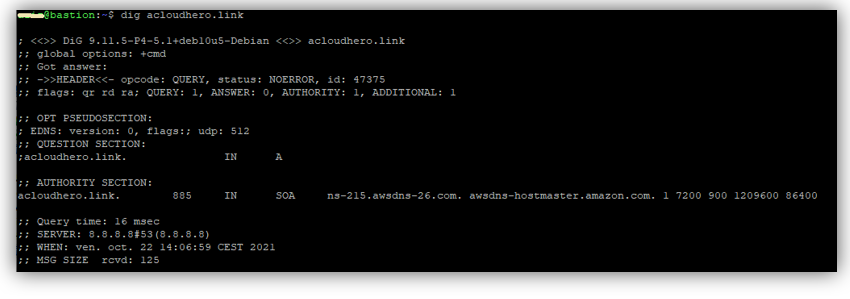
The domain name has been properly registered in the domain name server. It is ready to serve any dns request.
Kyat
Small