
Amazon provides you a 12 month limited fully functional free account that can be used to learn and test different components of AWS. After creating aws account, you get directly an access to services provided by AWS.
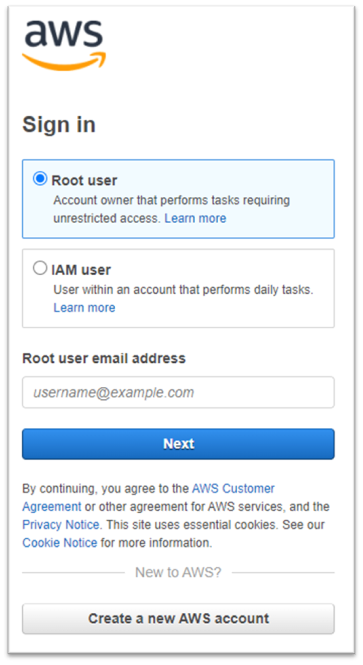
To create an AWS account, first open the link https://console.aws.amazon.com/ then clic on “Create a new AWS account”.
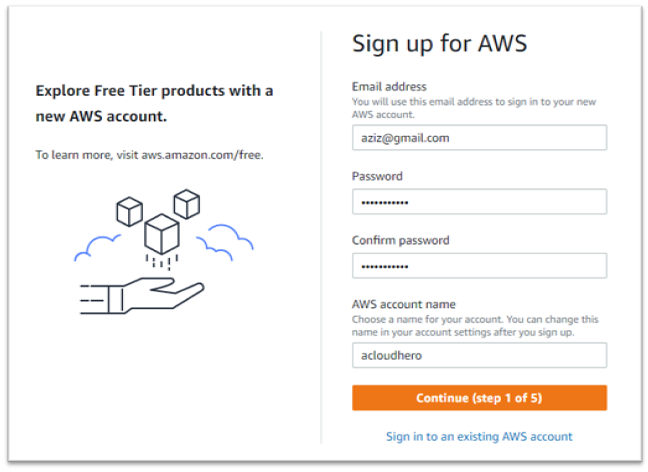
The process of creating AWS account has started. You can now enter your email address, provide a password for your AWS account and choose a name for this account that you can change later if you want.
Once done, clic on “Continue / Step 1 of 5′
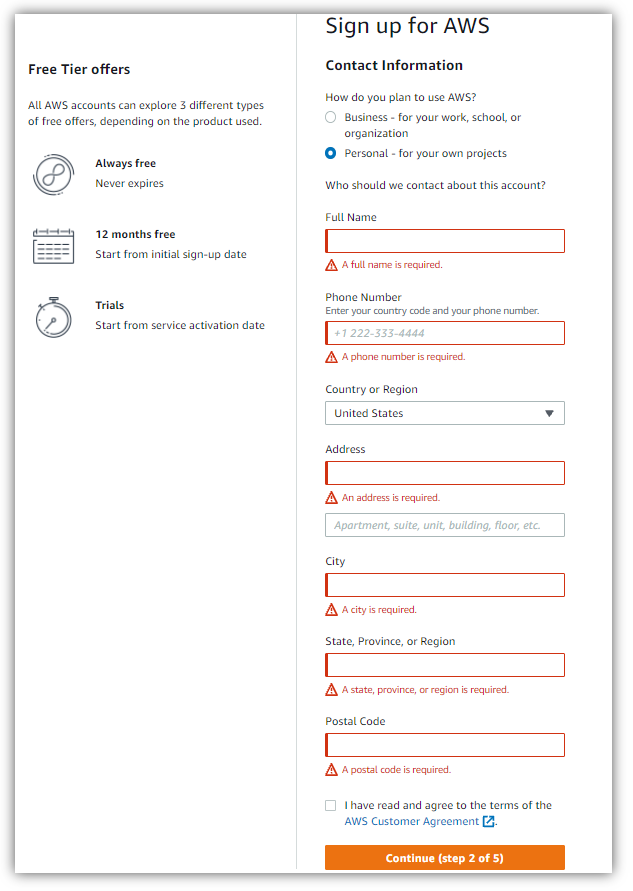
For the plan to be used, select “Personnal – for your own projects” then enter valid information (full name, phone number..), accept the terms then clic on “Continue / 2 of 5)
Now you have to enter billing information, then clic on “Verify and Continue /step 3 of 5).
Amazon will not charge for usage below AWS Free Tier limits. They temporarily hold $1 USD/EUR as a pending transaction for 3-5 days to verify your identity.

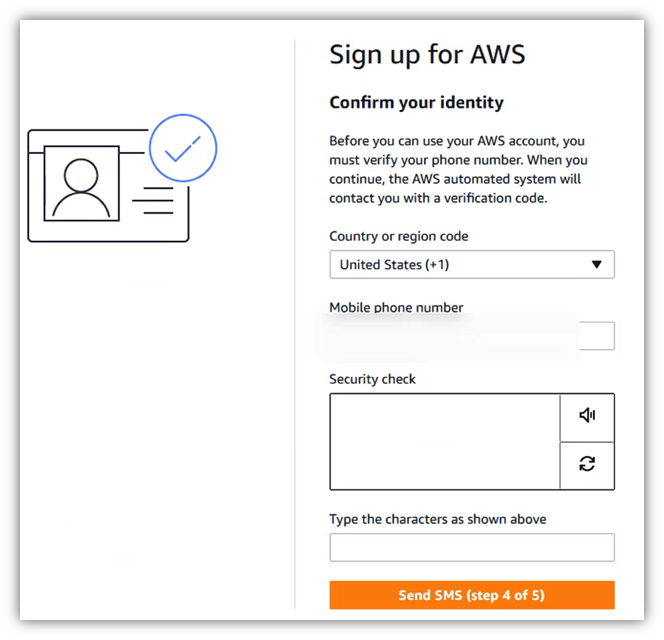
Confirm your identity by entering again you phone number then clic on “Send SMS / step 4 of 5)
Enter the code that you have received by sms and clic on (Continue / step 4 of 5)

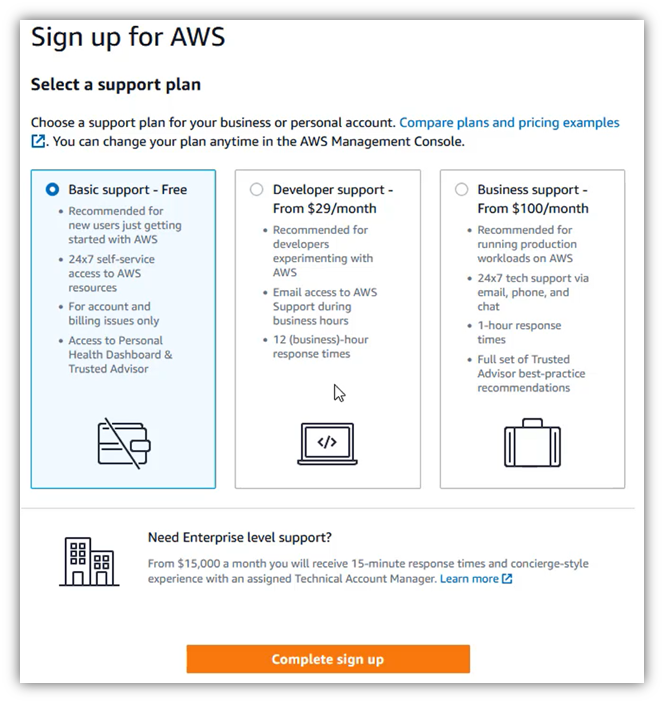
In support plan, choose “Basic support – Free”, then clic on “Complete sign up”
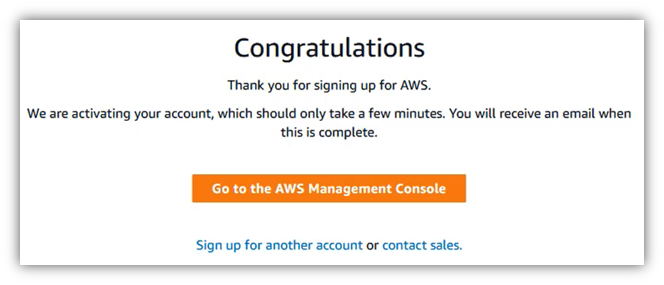
Your aws account creation is finished. Now you will receive an email informing you that the account is activated.
Clic on “Go to the AWS Management Console”
You can now login and explore different services.
Just after you explore your first time your dashboards, AWS services, I recommand you to apply some best practices to your AWS account, for this, I shared with you this “How to secure your AWS account“